Okay! Open up Blender. If you don't have it get it at this site.Youll notice that it starts you off with a lovely pink square as the current object. Your first command will be to hit X and delete the dumb square. When you see the pink outline on objects you are in what I call Select mode, where you can select different objects. To start our new object (and toggle between modes) hit the Tab key to go to Edit mode. Youll notice you are facing the top of the grid right now. The Numeric keypad rotates your view (this is really convenient.) The 5 key toggles between weird perspective mode and right angle mode. Play with this a bit, and then rotate the grid so you are level to the plane. It is easy to use Blender with your left hand on the keyboard and your right using the mouse.
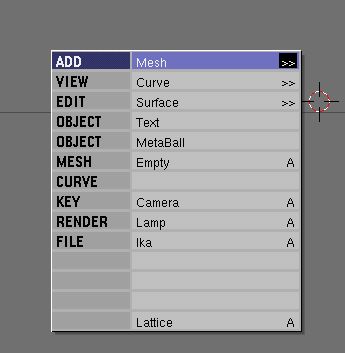
Now we will begin constructing our model. Shift-A brings us to the main stuff creating menu. Most things will be created using circles (tho occasionally I use the icosphere.) Select Mesh, then Circle. This first circle will be the main fuselage of the ship, so we will choose 8 points for the circle. (You should probably rotate the circle with the R key so the sides of it are faces and not points, so we can attach parts like wings later. I rotated this model a bit later because I forgot to do that.)
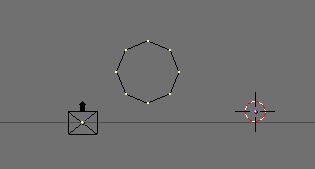
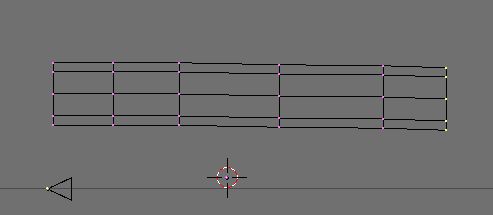
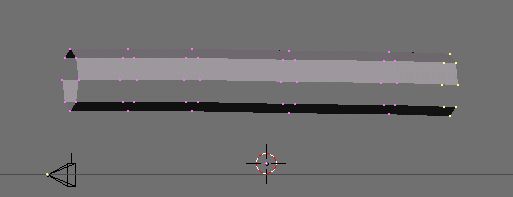
Tada! There is your circle. Use the keypad to rotate the view to the side so you see the side of the circle as a straight line. Now we will use the extrude button. The points should be selected already (colored yellow) and we will hit the E key for extrude. Move the newly extruded points back. Repeat this five times and you should have something that looks like the next figure.
Lets take a look at some commands youll need. When you extrude it automatically selects new points and puts you in move mode. To box select your own points, hit B and drag a box around the points you want to work on. To move those points, press G. Drag the points around and then click when you are done moving them. (If you want to undo, you can BEFORE you click the mouse button by hitting G again.)
Youve basically created a tube at this point. Hit the Z key to toggle to rendered view. Notice that each end of the tube is hollow. Box select the points on the LEFT end of the tube (this will be the front of the ship) and hit SHIFT-F. This will fill in the open end. (I like to leave the other end open until Im done in case I need to extrude some more.)