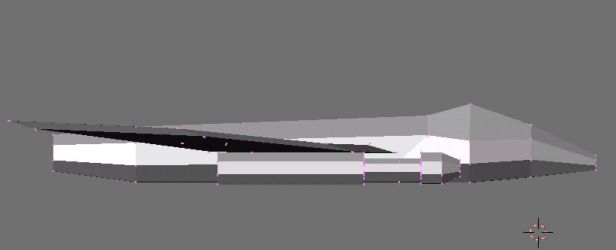
Use SHIFT-D to create a duplicate gun when you are done. Then, using the zoom in method, place the gun underneath the wing as close as possible without touching. You can obviously create more than two guns, and place them wherever you like on the model. (Keeping in mind FS2 fighters only fire straight forward.)
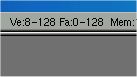
When you are adding these guns, WATCH your poly count in the top right corner of your screen. The main number you want to watch is the "Fa:" - Faces. The number on the left is the current selected amount, and the number on the right is the total for this model. (Always create new meshes in Edit mode or you will make multiple separate objects, and not see a true face count.) Try to keep the number below 500. When you add guns, this can go up quickly, so be careful. If you have to, you can even make square or triangular shaped guns to save polys (faces).
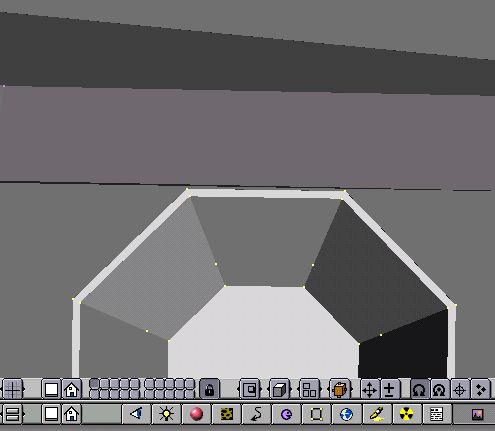
At this point, we have placed the guns, and we are ready to do final touch ups. One thing that you will find that it is helpful to do is move your points and faces around to match lines and features that you will texture. For instance, on my Officer's Battlepod for the Robotech MOD, I created an extra dividing line so I could easily texture those faces as the cockpit. I'm doing something similar in this picture. I moved a few vertices around so that the faces look like a cockpit I want to paint later. Also, at this time you will close the hole in the back of the fuselage of the ship.
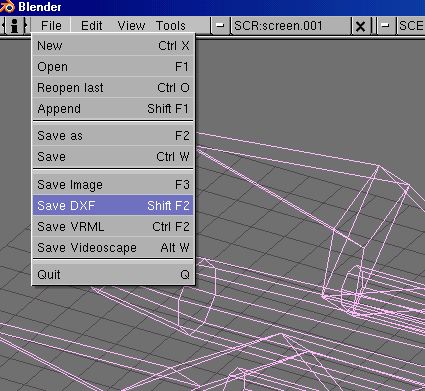
To save your work as a DXF, you'll have to leave edit mode. You can save your model at any time in the process as a blender model (.blend), but to save as a DXF, you have to leave edit mode. (Remember how to toggle modes boys and girls? Hit the Tab key? Good!) You can tell you are in select mode by the pink outline (remember the dumb square?) Choose save as DXF from the menu.
Once you get to the save screen, type in the correct name and HIT ENTER. If you are still on the save screen, HIT ENTER AGAIN until it goes back to the modeling screen. If you don't, you won't save your model correctly. (Be careful because Blender does not give you an option to save unfinished work if you hit the "X".) If you want to download these tutorial models, Click here for the blender model or Click here for the DXF model. Right-click and then Save Target As. You are now ready to move to part 2 of the tutorial.