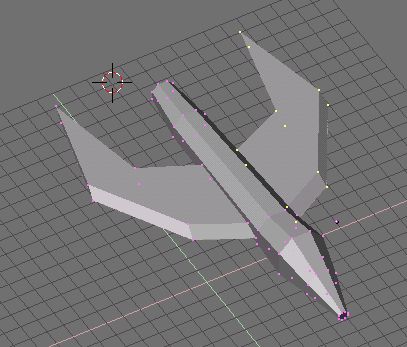
Okay. After you finish lining the wings up from the top view, you'll have to align the sides. Go to the side view and move them up, down, and sideways until they are okay. The nice thing about this is that working from the exact side view will not move the points in or out that we just lined up from the top. Once you have moved both wings into place using this method, your wings should be nicely glued on like this picture. You can also see the effect that making the angular wings has.
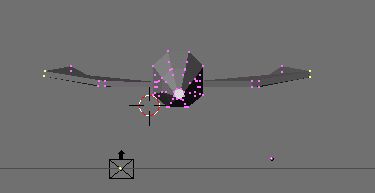
Now, if you move to the front view, your wings will still look pretty much flat and boring. Select groups of points in symmetric pairs as shown in the picture, and move them around to give your wings a more 3D look from the front and back. As you can see here, I moved the wingtips up, and also the edges a bit.
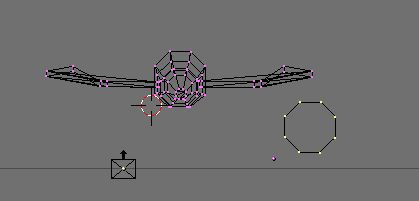
Now, we need guns. ("WE NEED BIGGER GUNS!") So, we stay at the front view, and create us a new circle. Since this model so far is relatively low on polygons (faces) I have the luxury of making more detailed guns, so we will go with a circle of eight points. Then, we will again turn to the side and extrude just like with the ship, except with a twist.
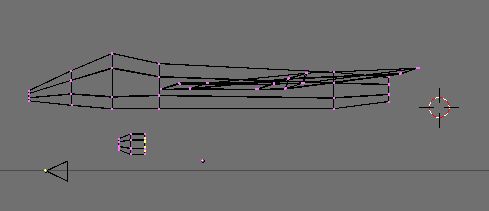
Once you have extruded a tip for the gun, your next extrusion will be different. Hit E as normal, but DON'T move the points. Now use the S key to resize them smaller. Extrude again from this point, and you will see that you have created a thinner segment for the gun tube. Move the segment over, and on the next extrude keep the points in place, and size them larger, up to the original segment size (see below.)
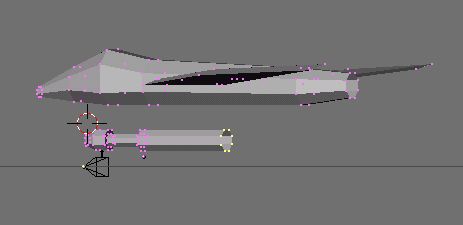
Remember to close the holes in the front and the back of the new gun tube by selecting the front and back "rings" separately and using SHIFT-F.