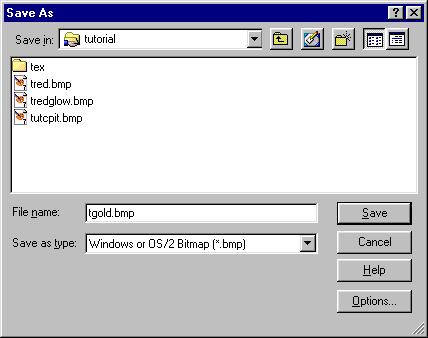
Okay, now, save the files as BMPs. Truespace likes to use BMP as textures, later when we are done we will have to convert them to 256 color PCXs of the same name for Freespace 2. Notice I am naming them all t-something. its good to name your textures for the same model with the same prefix so you can group them easily.
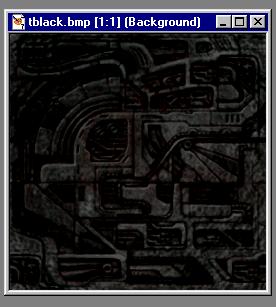
Oh, I almost forgot. You almost always need a black texture for something on every model. This is just a tile that I darkened. You should use a tile with some texture instead of just plain black. Well, now we've got our basic textures, let's open Truespace up and bring in the model.
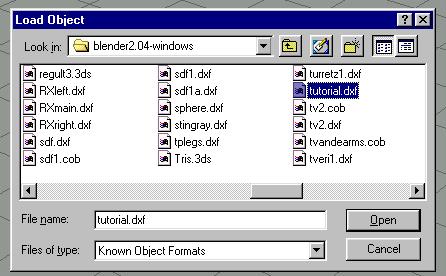
Use Load Object from the File menu in TrueSpace. Pick the DXF file of the model.
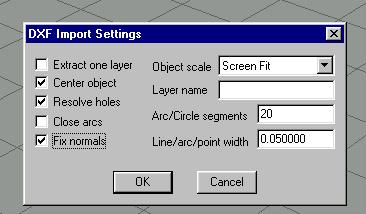
When you open the DXF file, you should select these options as they most often give you an object with no holes or flipped normals. However, sometimes it doesnt work, that's why the first thing we will do with the model is check it and make sure it loaded correctly.
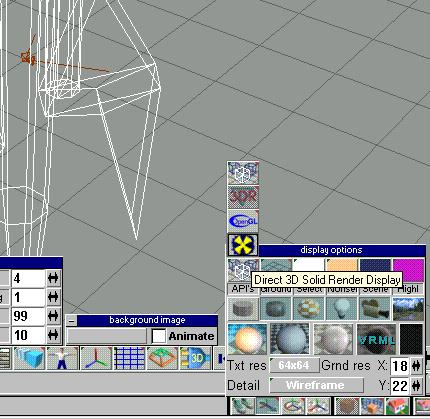
You start off in Perspective view, which is good because you can rotate the view so we can search for holes or abnormalities. Right click on the orange cube higlighted in the picture. You will see the menu shown. In this menu you will set the ground to transparent grid (the second box from the left) and then choose D3D rendering as shown. Once you do this the model will appear solid and you should rotate it around and look for holes and other weirdness. If the model has holes or problems, delete it from TS and try opening it with different DXF options. One of the reasons we made sure faces did not touch in blender is so they would not make holes when we load the object into TS at this point.